Knowledge Base at a Glance
The Knowledge Base gives your AI Receptionist business-specific information that can be used when answering customer questions.
- Business Details — created automatically from business information collected during onboarding.
- Web Pages — add relevant pages from your website.
- Text — add your own business information directly inside Rexpt.
- Use relevant, customer-facing information so the AI Receptionist has clear context when handling conversations.
Business Details
Business Details provide the core information about your business without requiring you to enter everything manually.
- A Business Details file is created automatically.
- During onboarding, business information may be fetched from Google My Business.
- The fetched business information forms the basis of the Business Details knowledge.
- This information can help the AI Receptionist answer basic business-related questions.
Add Knowledge Manually
When the information you want the AI Receptionist to know is not already available, add it manually through the Knowledge Base.
- Use Text when you want to enter short, specific information directly.
- Use Web Pages when the required information already exists on your website.
- Keep the content accurate and relevant to customer conversations.
Add Text
Add custom business information as text without creating or uploading a separate document.
Step 1 — Open Edit Knowledge Base
Open Knowledge Files and select Edit to manage the knowledge sources.

Step 2 — Open the Add Menu
Select + Add and choose Text from the available options. Text is useful when you want to enter information directly instead of uploading a file.
Examples include service details, special instructions, FAQs, policies, offers, or other customer-facing information.

Step 3 — Enter the Text Details
In the Add Text window, enter a clear File Name and add the required information in Text Content.
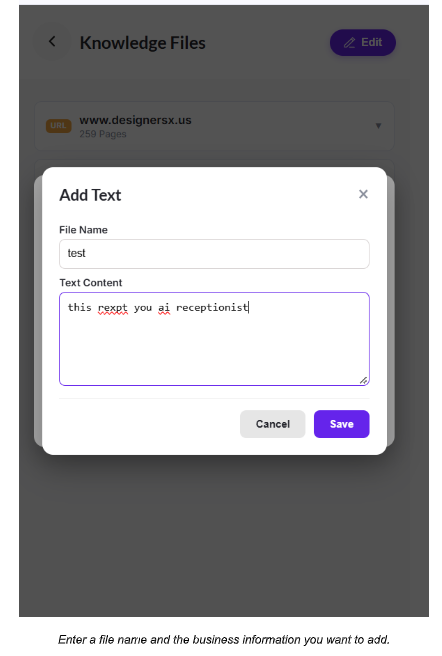
Step 4 — Save the Text
Select Save to add the text as a knowledge file. Use a meaningful File Name, keep the Text Content clear and specific, and include information the AI Receptionist may need while assisting customers.
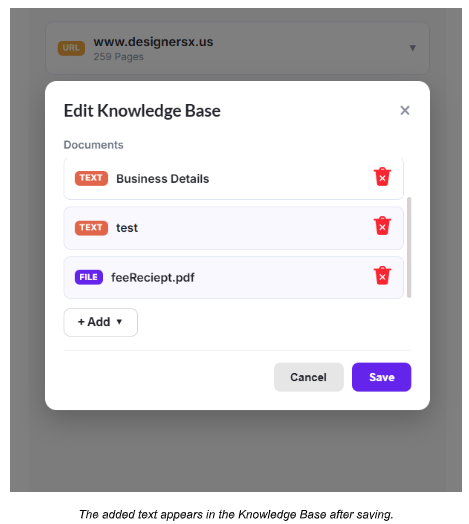
Step 5 — Verify the Added Text File
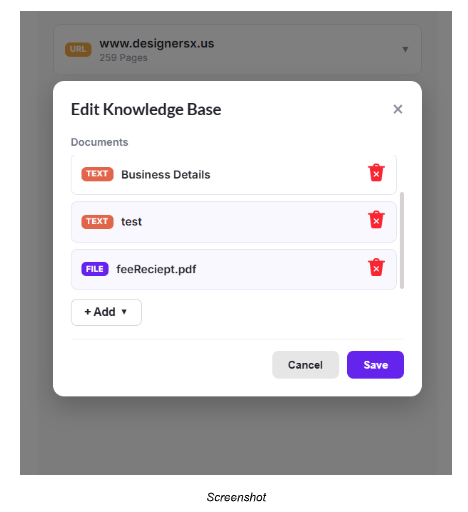
After saving, check the Edit Knowledge Base window to confirm that the new text file appears in the Documents list as a TEXT source.
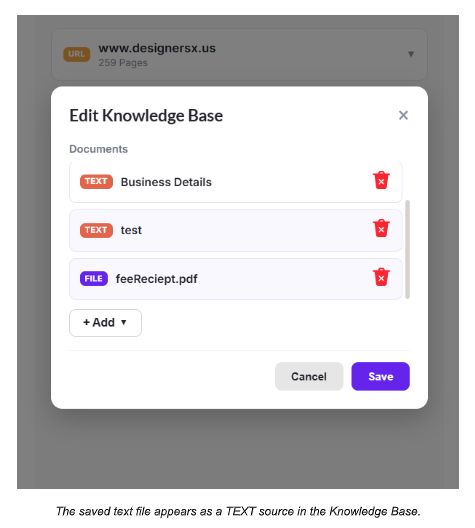
Add a File
Upload a file containing business information that you want your AI Receptionist to use as part of its Knowledge Base.
Step 1 — Open the Add Menu
Open Edit Knowledge Base, select + Add, and choose the file upload option.
Step 2 — Select a File
When the file picker opens, browse to the required file on your device, select it, and click Open.
The upload option shown in Rexpt supports files under 10 MB and lists .csv, .md, .pdf, .txt, .xls, and .xlsx as supported formats.
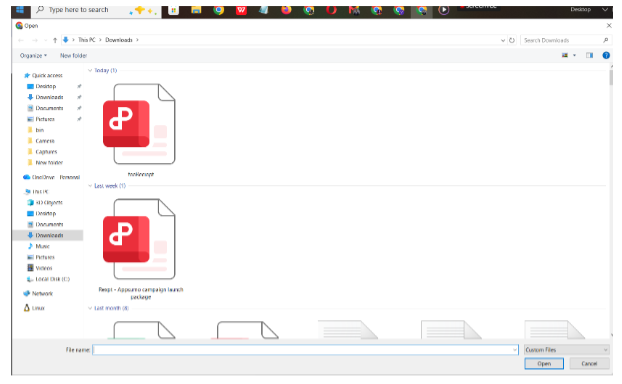
Step 3 — Check the Added File
After the upload is added, check the Documents list in Edit Knowledge Base to confirm that the file appears as a FILE source.
Step 4 — Save Your Knowledge Base
Select Save to keep the uploaded file in your Knowledge Base. Use a clear file name, upload information that is relevant to customer conversations, and review the Knowledge Base after saving to confirm the file was added.
What Should You Add as Text?
The best text entries answer questions your customers are likely to ask.
| Business Area | Useful Information | Example |
|---|---|---|
| Services | Service names, availability, key details | Do you provide emergency service? |
| Pricing | Starting prices, packages, charges | How much does the service cost? |
| Policies | Cancellation, refund, booking rules | What is your cancellation policy? |
| FAQs | Common customer questions and answers | Do I need an appointment? |
| Offers | Current promotions or special deals | Are there any current offers? |
Add Web Pages
Use Web Pages when your business information already lives on your website. Rexpt can scan the website and let you select the pages you want to add.
Step 1 — Open Add Web Pages
Open the Add menu and select Add Web Pages.
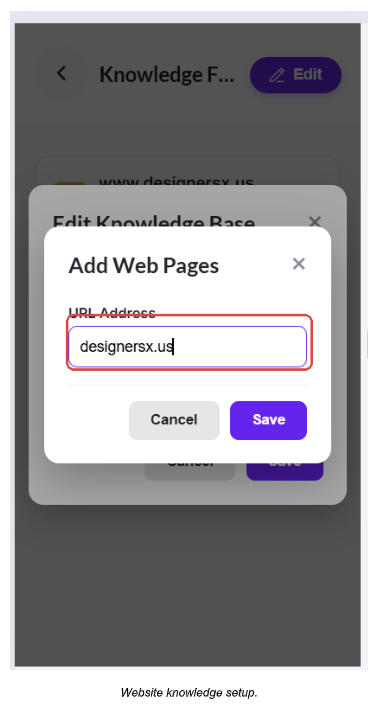
Step 2 — Enter Website URL
Enter the website URL you want Rexpt to scan.
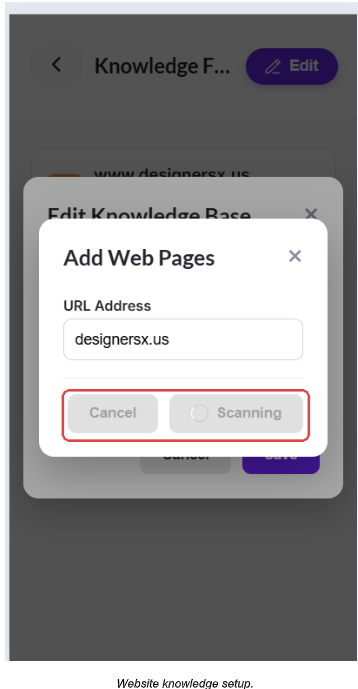
Step 3 — Start the Scan
Continue and let Rexpt scan the website for available pages.
Step 4 — Review Site Maps
Review the site map and pages returned after scanning.

Step 5 — Select Relevant Pages
Select the pages whose information you want the AI Receptionist to use.
Step 6 — Save the Selection
Save the selected pages to add them to the Knowledge Base.

Step 7 — Review the Knowledge Base
Check that the selected website source appears in the Knowledge Base.
Step 8 — Save Changes
Save the updated Knowledge Base.
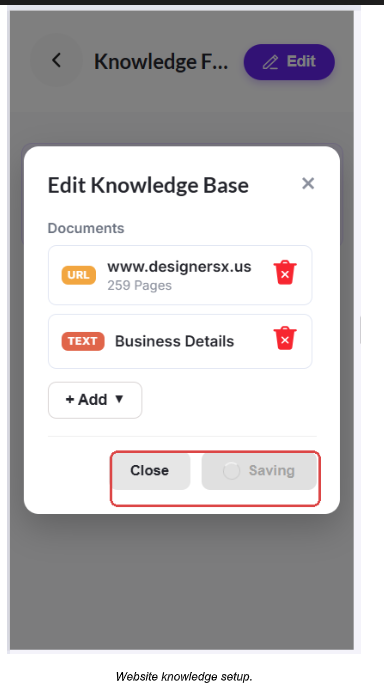
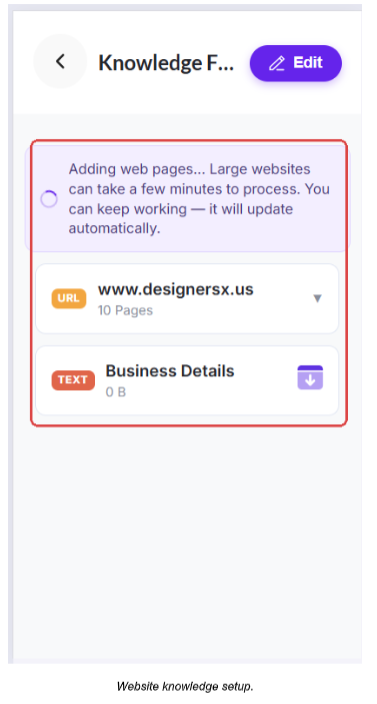
Step 9 — Wait for Processing
Large websites can take a few minutes to process. You can keep working or close the app; the update continues automatically.
Text vs. Web Pages
Choose the source that matches where your information currently lives.
- Choose Text when you want to write or paste specific information directly into Rexpt.
- Choose Web Pages when the information is already published on your website.
- You can use both methods to build a more complete Knowledge Base.
How the AI Receptionist Uses Your Knowledge
- Uses the information available in the Knowledge Base when responding to relevant customer questions.
- Business Details provide the core business context.
- Text and Web Pages can add more specific information.
- Relevant and up-to-date content helps keep customer-facing answers aligned with your business information.
Important Notes
- Add information that is useful for customer conversations.
- Use clear File Names for manually added text.
- Review manually added content before saving.
- Large websites may take a few minutes to finish processing.
- You can continue working while website content is being processed.
Restore Business Details
If the automatically created Business Details source is deleted, Rexpt provides a restore option to bring the business information back into the Knowledge Base.
Step 1 — Remove the Existing Source
If the Business Details source is the only knowledge source and you delete it, the Knowledge Base will have no remaining source.
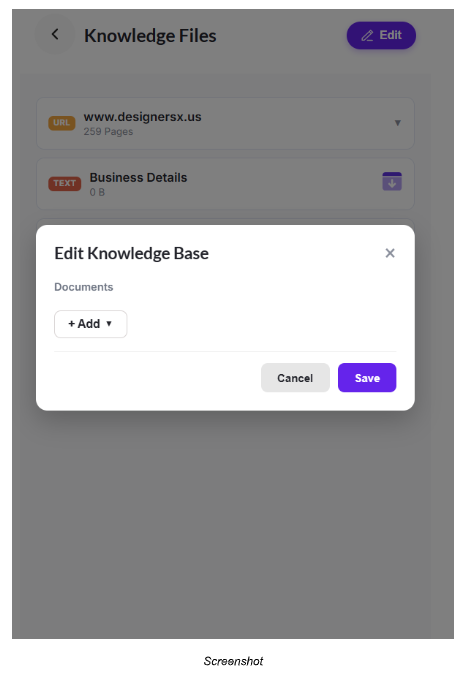
Step 2 — Confirm the Deletion
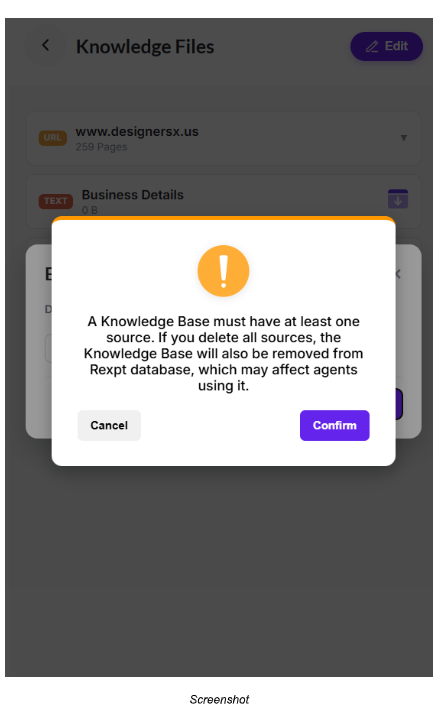
Rexpt displays a warning explaining that a Knowledge Base must have at least one source. If all sources are deleted, the Knowledge Base is also removed from the Rexpt database and may affect agents using it. Select Confirm only if you want to continue.
Step 3 — Restore Your Knowledge Base
After the Knowledge Base has no files, the Knowledge Files screen shows the option to Restore your knowledge base. Select it to restore the automatically created business knowledge.

Step 4 — Wait for Restoration
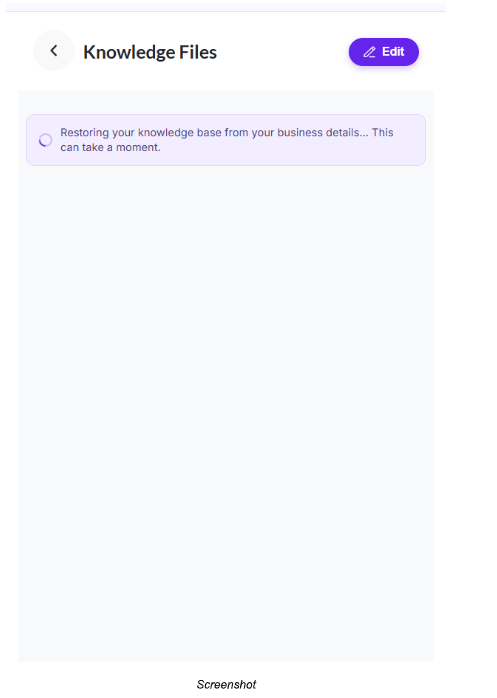
Rexpt restores the Knowledge Base from your business details. The screen shows a restoration message while the process is running.
What Happens After Restoration?
- The Knowledge Base is restored using your business details.
- The restoration may take a moment while Rexpt processes the information.
- Once restoration is complete, the business knowledge becomes available again in the Knowledge Base.
Confirm Your Knowledge Base
- Open Knowledge Base → Edit.
- Check that your Business Details, text entries, and website sources are present as expected.
- Review the information you added and make sure it is relevant to customer queries.